
Alias Wheel Tutorial – part – 3
www.learningalias.co.uk
Alias Studio Wheel Tutorial – part – 3,Author: graham bullock B.Ed. Design and Tech
Objectives:
-
Projecting and trimming bolt hole
-
Building internal surfaces for bolt Hole
-
Filleting surface edges
-
Mirroring the 36 deg half segment accross the YZ plane to form 1 segment of the 5 segment wheel
Here goes:
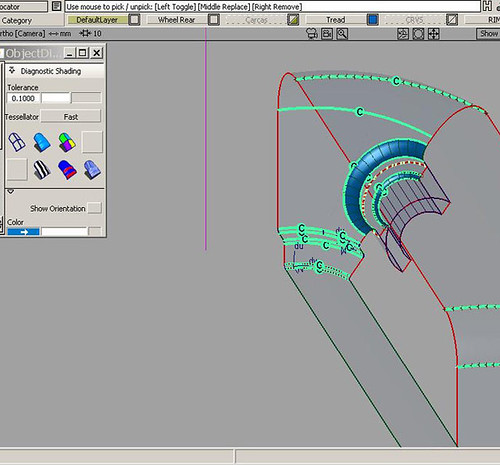
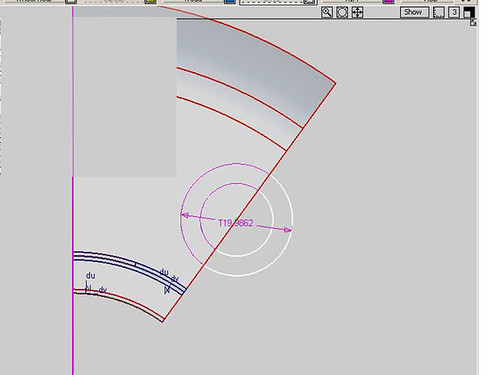 In the Left view create a circle. Snap it to the edge of the segmentScale it to r=10mm. Use the information window and type in the Z and X dimensions (>windows>info.window. I have mine on my mouse menu)Copy and paste the circle and scale the new one to your bolt dia. say r =5mm.Project and trim divide to get your “C” shaped milled surf. as we did earlier. Delete the 1omm dia inner bolt hole circular trim surf.
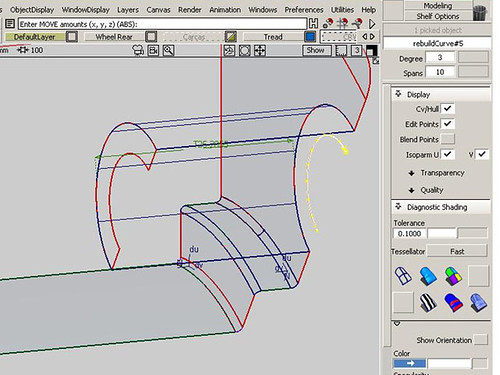
 NB: The skin surface has a lot of spans, which makes for a heavy surface, so for this model we are going to reduce its spans:Go into the control panel and with the surface selected change the number of spans down to say 4. You will be warned that you will delete the memory >OK and then at the bottom of your monitor >accept (if you forget to click accept, your changes will be undone.)
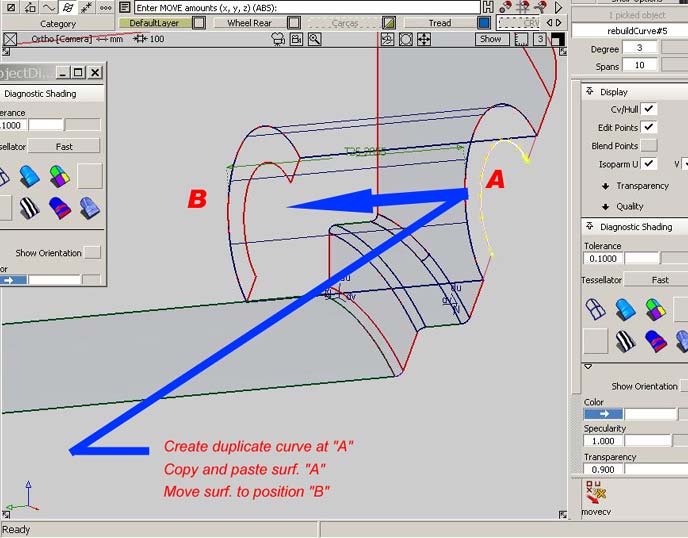
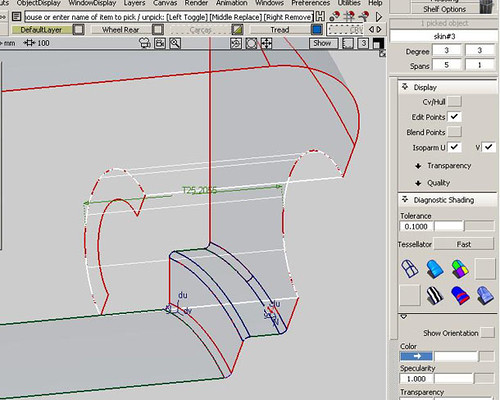
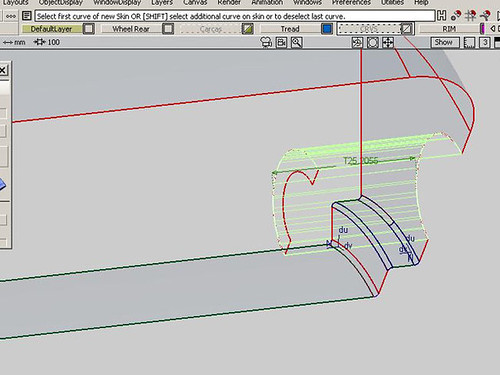
 In the perspective view create a duplicate curve on the inner edge of the “C” surf.Move the trim divided “C” surface inwards along the Y axis, the depth of your wheel nut or bolt head, say 25mmCreate the skin surf shown from the original hole to the outer edge of the “C” surf..Copy and paste the “C” surf. and slide your new surf. back along the Y axisNow skin the inner surf. of the bolt hole. If this is difficult to follow, don’t worry everything you need to do is shown very clearly in the pics.
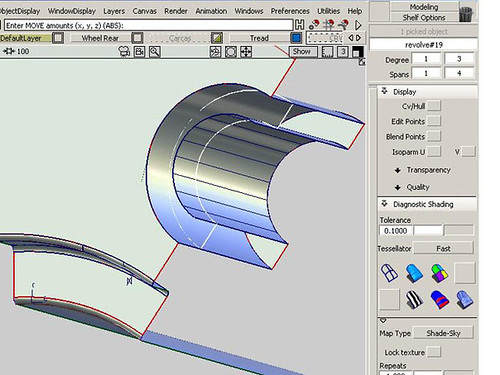 Using the >surface>round tool. Create your fillets as shown

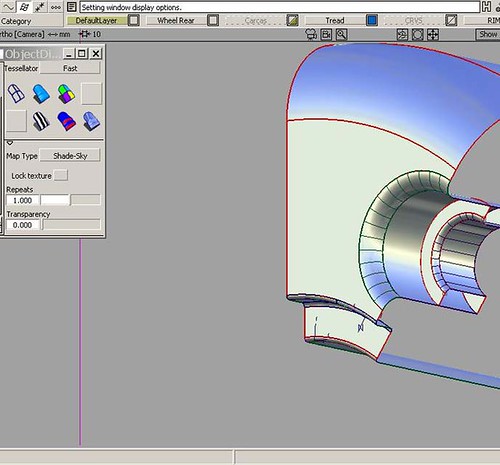

NB: For Beginners. The Round Fillet Surfacing tool won’t give you accurate surface joints for much of the time,
but the quality it produces is fine for the purposes of this aesthetic model. There are work flows that experienced Alias folk apply after forming a fillet with the Round tool, that will tighten up the fit and curvature to meet high tolerance specs. These work flows involving the: untrim, project normal and align tool can be learnt further down the line.
I am working to tight tolerances
and maintaining G2 (curvature continuity) wherever I can and settling for G1 (tangency) when I have toOn a Styling model like this you don’t need to work to these tight tolerancesIf you want to work to Catia V5 you can, but if you haven’t been doing Alias long then there’s no need to beat yourself up on this particular Styling model, trying to get G2 which is 0.001mm. Work in a lower Construction Option. >preferences>const. options.e.g: >preferences>const. options>general constr. settings
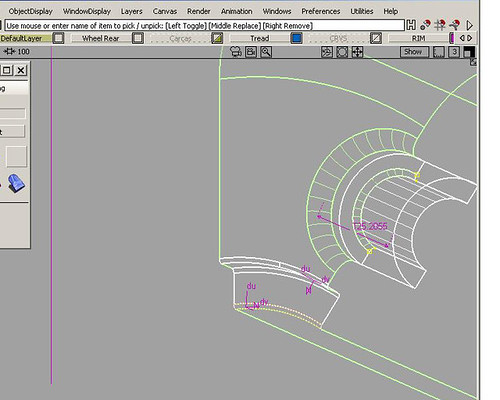
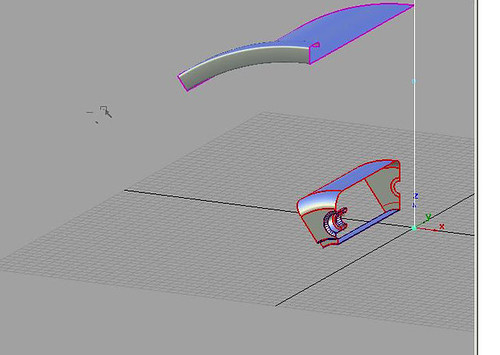
We have built our 36deg. half seg. of our wheel to the right of the Z axis in the Left view.
Turn on the rim layer>edit>duplicate>duplicate object. and rotate 1 copy -36 deg. and delete the original.
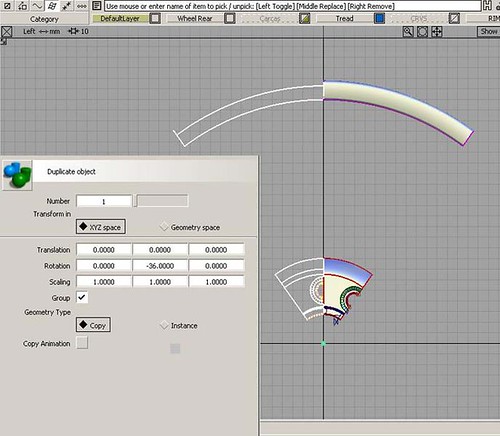
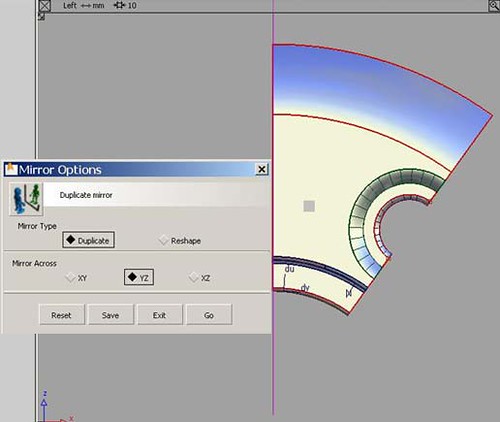 >edit>duplicate>mirror>duplicate mirror tool and mirror back across the Z axis
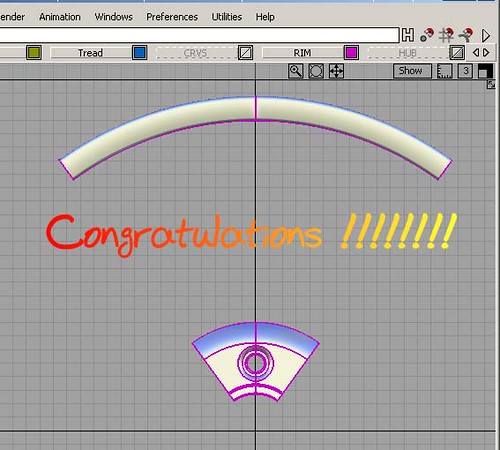
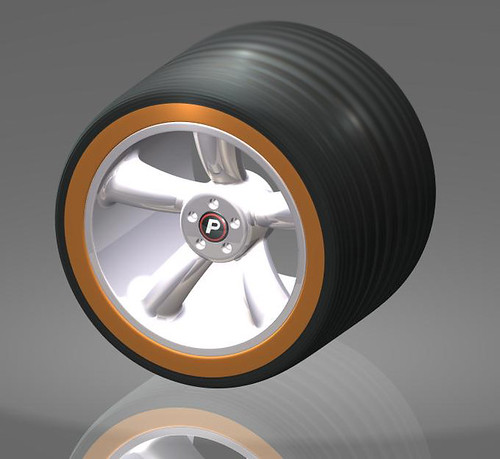
Congratulations! You have made the first 72 deg. segment of the wheel rim and hub
________________________________________________________________